Recording high quality vocals at home
Recording your own vocals at home has suddenly become a lot more important in 2020. If you’re an ensemble singer, you’ve probably already recorded a couple of virtual choir or video square songs by now. And, if you’ve just been using the audio from your camera/smartphone, you may have noticed that it’s hard to get a good sound just from the device you’re using to take video yourself.
The goal of this guide is to help you get the best possible sound out of the equipment you already have by understanding what influences the quality of a recording, and to help you figure out what’s important to look for if you want to buy a dedicated vocal recording setup.
Finding a suitable room Permalink
The first and most important factor that will determine how your recording will sound is the space you’re recording in. Yes, more important than what microphone you’re using! Where you record has a huge impact on how much environmental noise or room reflections will make it into your recordings, and those are typically the hardest problems to correct for in editing.
Ideally, you’d want to pick a location that is quiet (no external noises) and relatively dry/dead (no hard reflective surfaces). In a typical home, try to find a space with lots of carpeting and soft furniture. Bookshelves are also excellent at dispersing sound rather than just reflecting it. If you’re using a directional microphone, the most critical area is actually the surface behind and above the singer’s head. This is the area that will reflect the most sound waves into the microphone, and adding a heavy blanket or other acoustically dampening material on the wall and ceiling here will reduce reflections substantially. Yes, a time-honoured approach to recording at home is the humble blanket fort 😉
Due to the way sound waves reflect, it’s also best to not stand right in the middle of the room. Pick a location that’s off-center, about 3/5ths of the way along the length of the walls along the length and width of the room.
Finally, if you’re in a super quiet rural area with no traffic or other loud outdoor noises, recording outside in a wide open space might actually be your best option. No walls mean no reflective surfaces for sound waves to bounce around.
Choosing your recording equipment Permalink
In order to take sound from the outside world and turn it into digital audio files, you’ll need a microphone, a way to connect the microphone to a computer (or smartphone/tablet), and software to actually record the digital audio. Ideally, you’ll also need a stand or some other way to prop up your microphone in a stable position without holding on to it.
There are a lot of different possible microphone setups, but here are the most common options in order of preference:
If you don’t have any of the first three options, don’t worry! You don’t necessarily need to buy more expensive equipment. If you’re just casually recording a couple of tracks, and don’t plan on doing much more recording in the future, modern smartphones can make perfectly adequate audio recordings with a little care and good technique in an appropriate room.
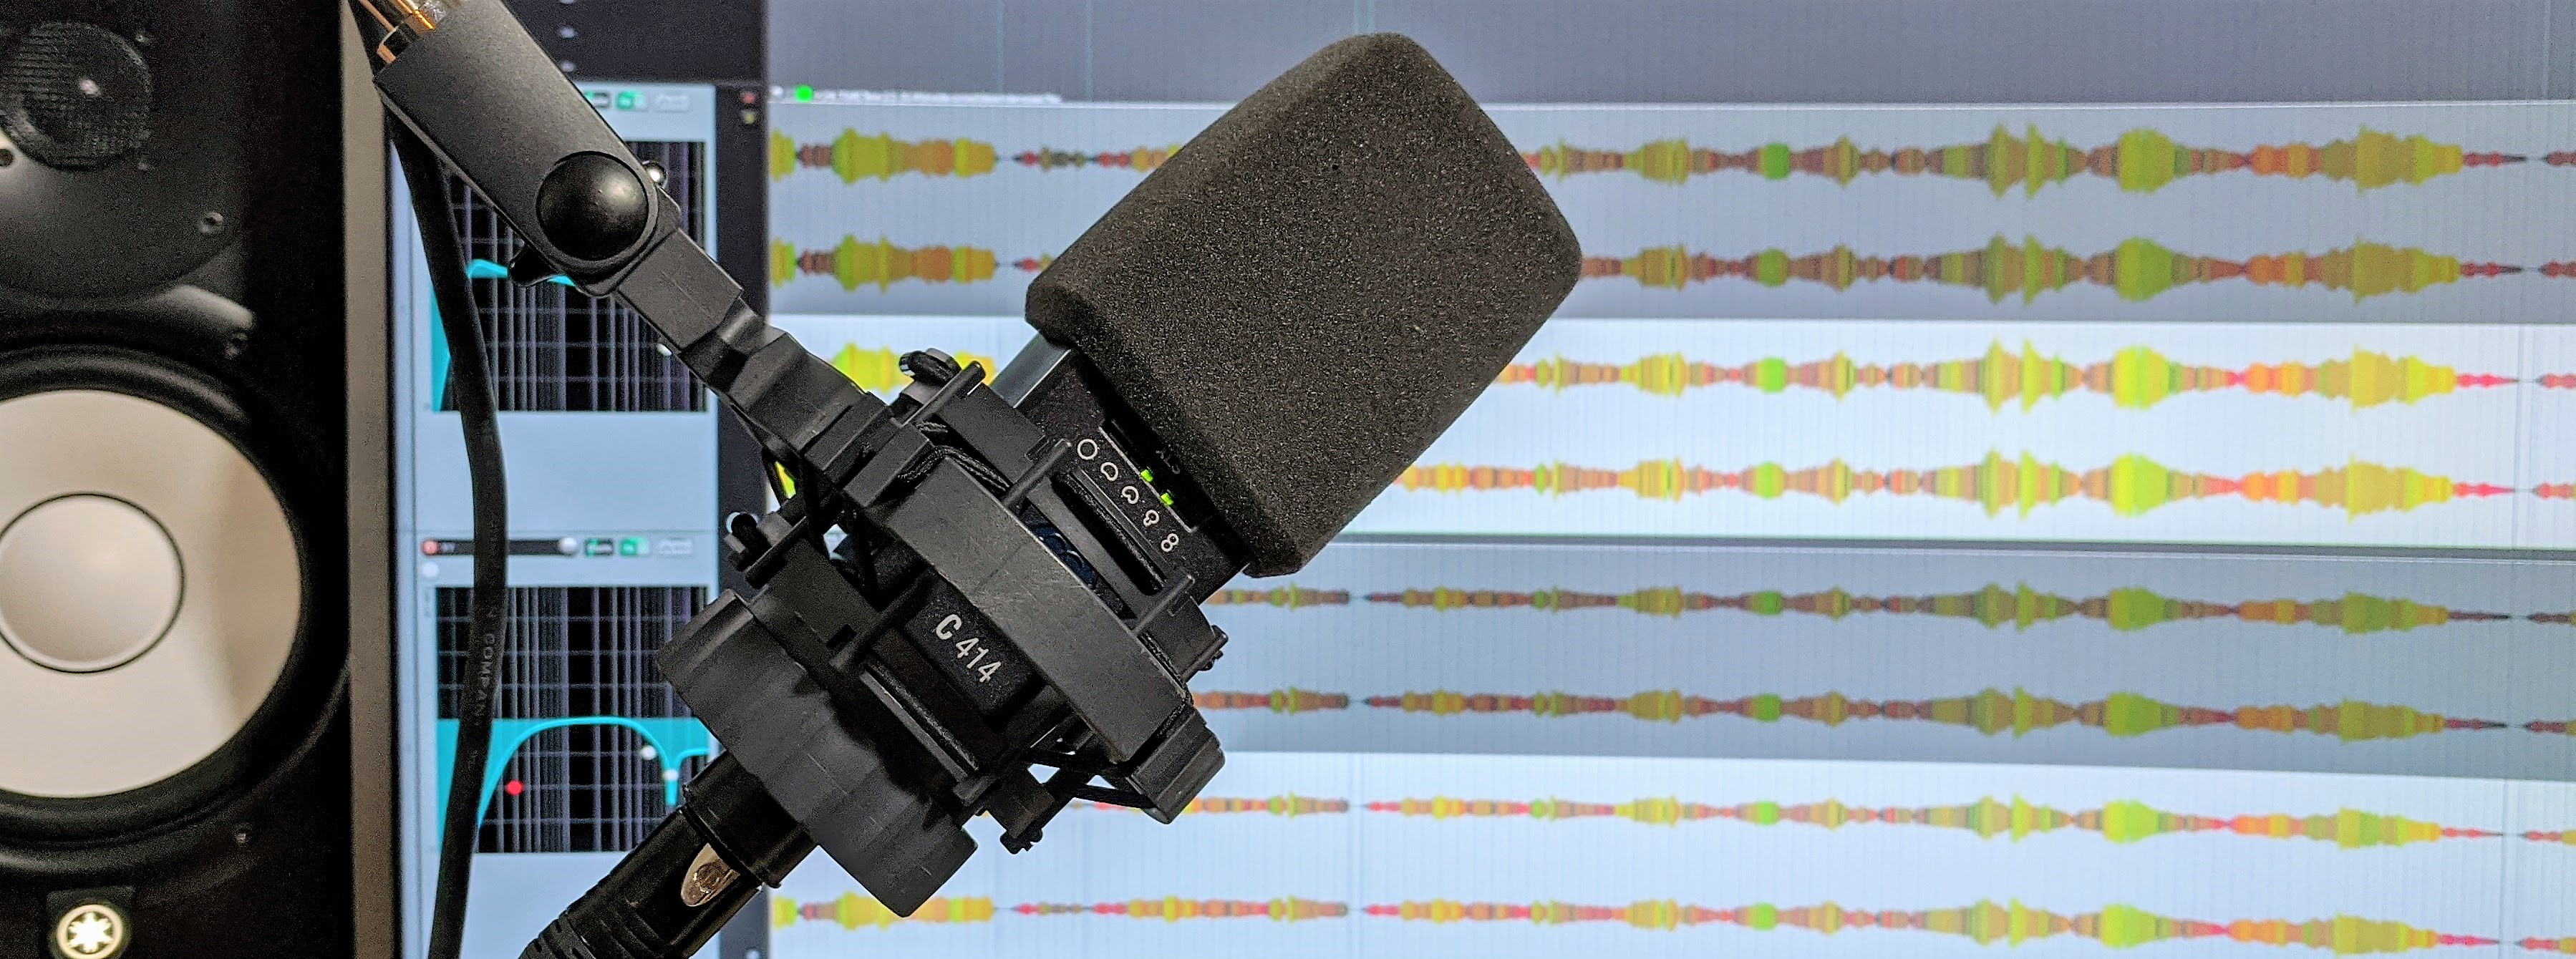
- Directional (cardioid or hyper-cardiod) condenser or dynamic microphone with XLR output, and a USB or Thunderbolt audio interface
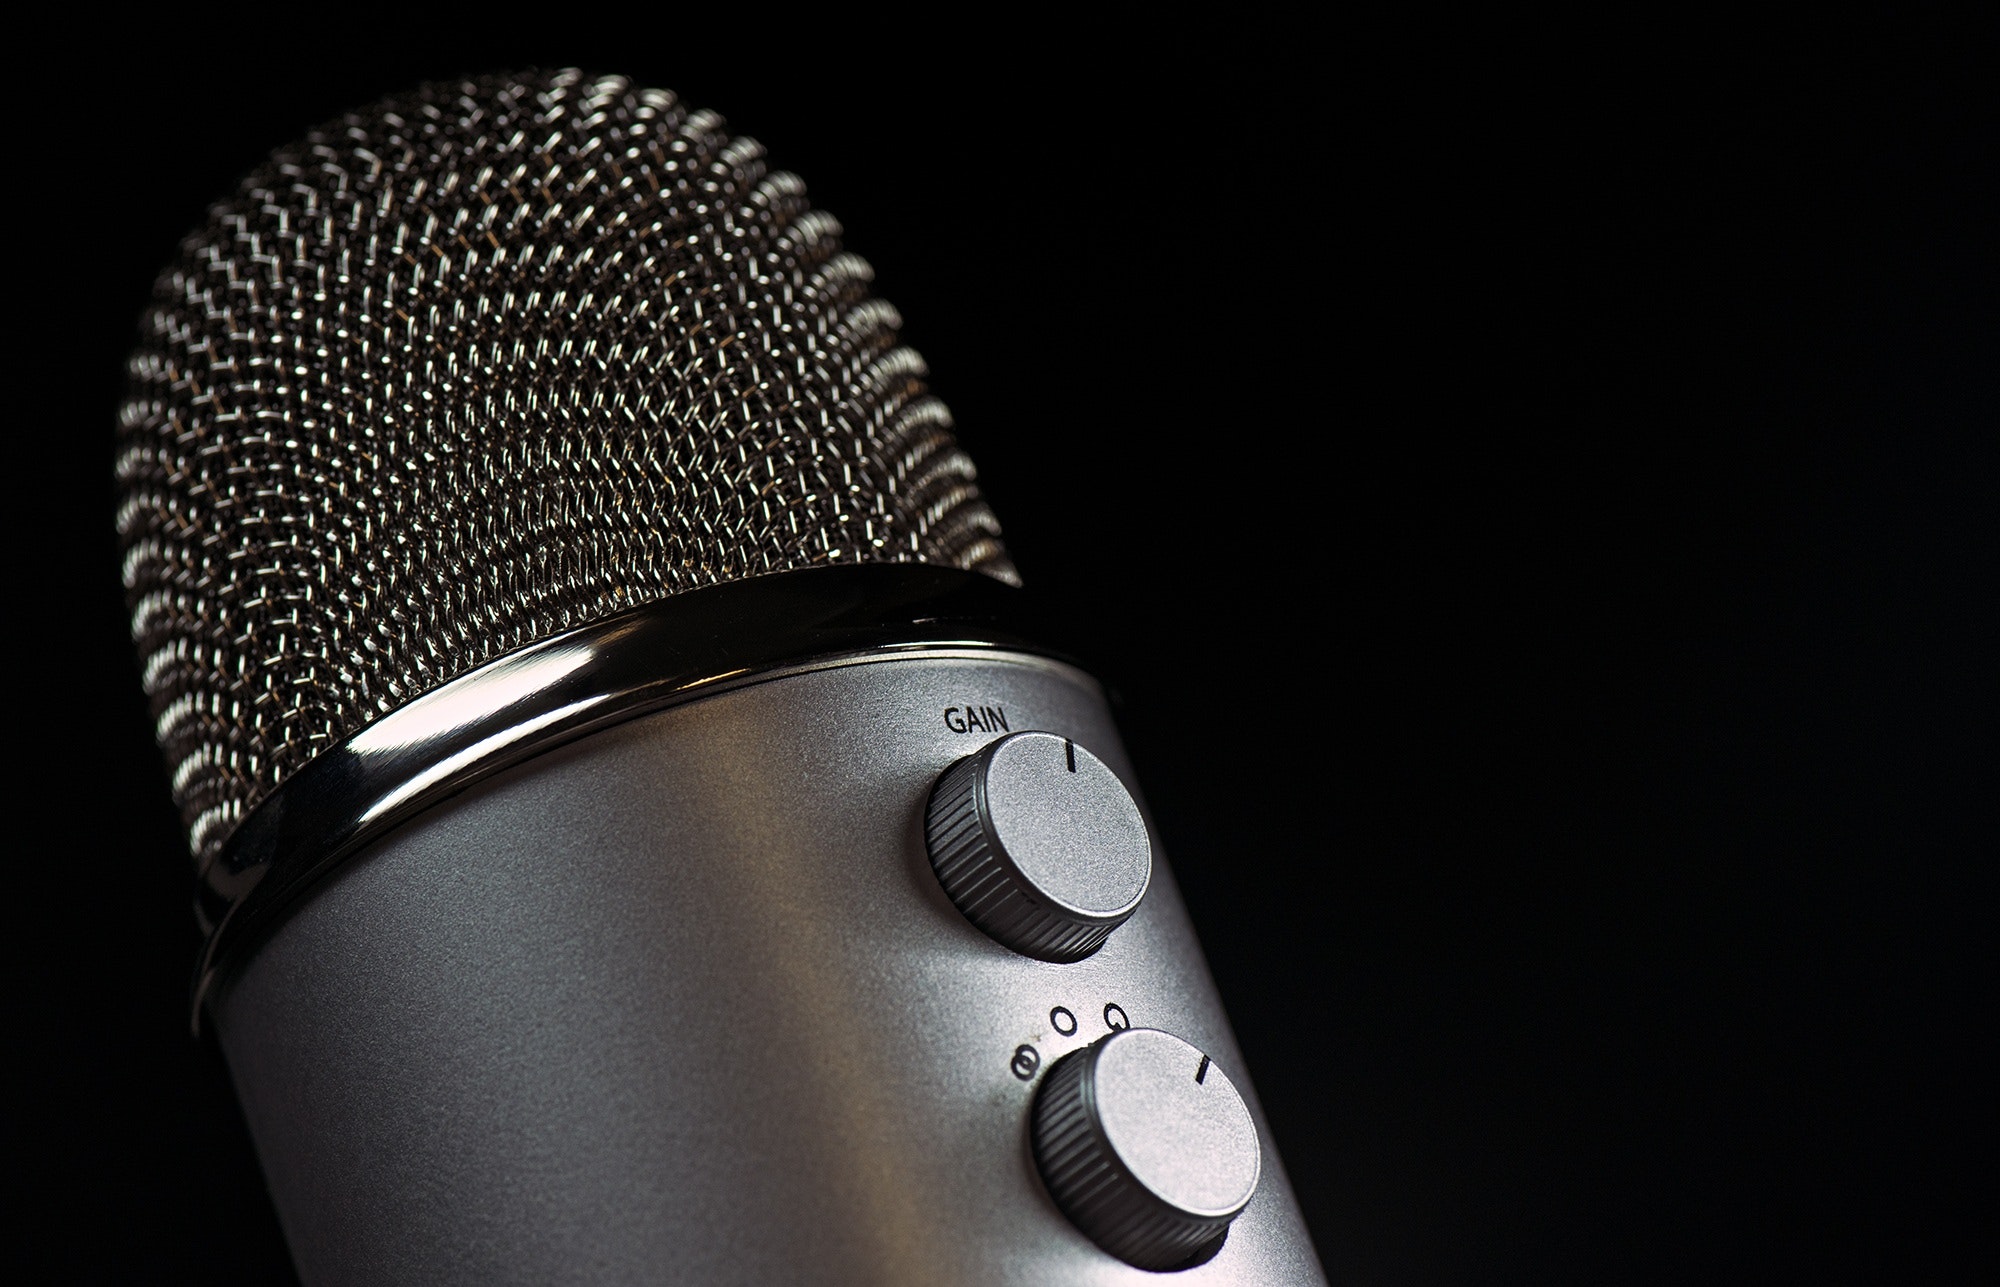
- Standalone USB microphone
- Portable audio recorder
- Smartphone with a rear-facing microphone (look for a tiny hole next to the rear camera)
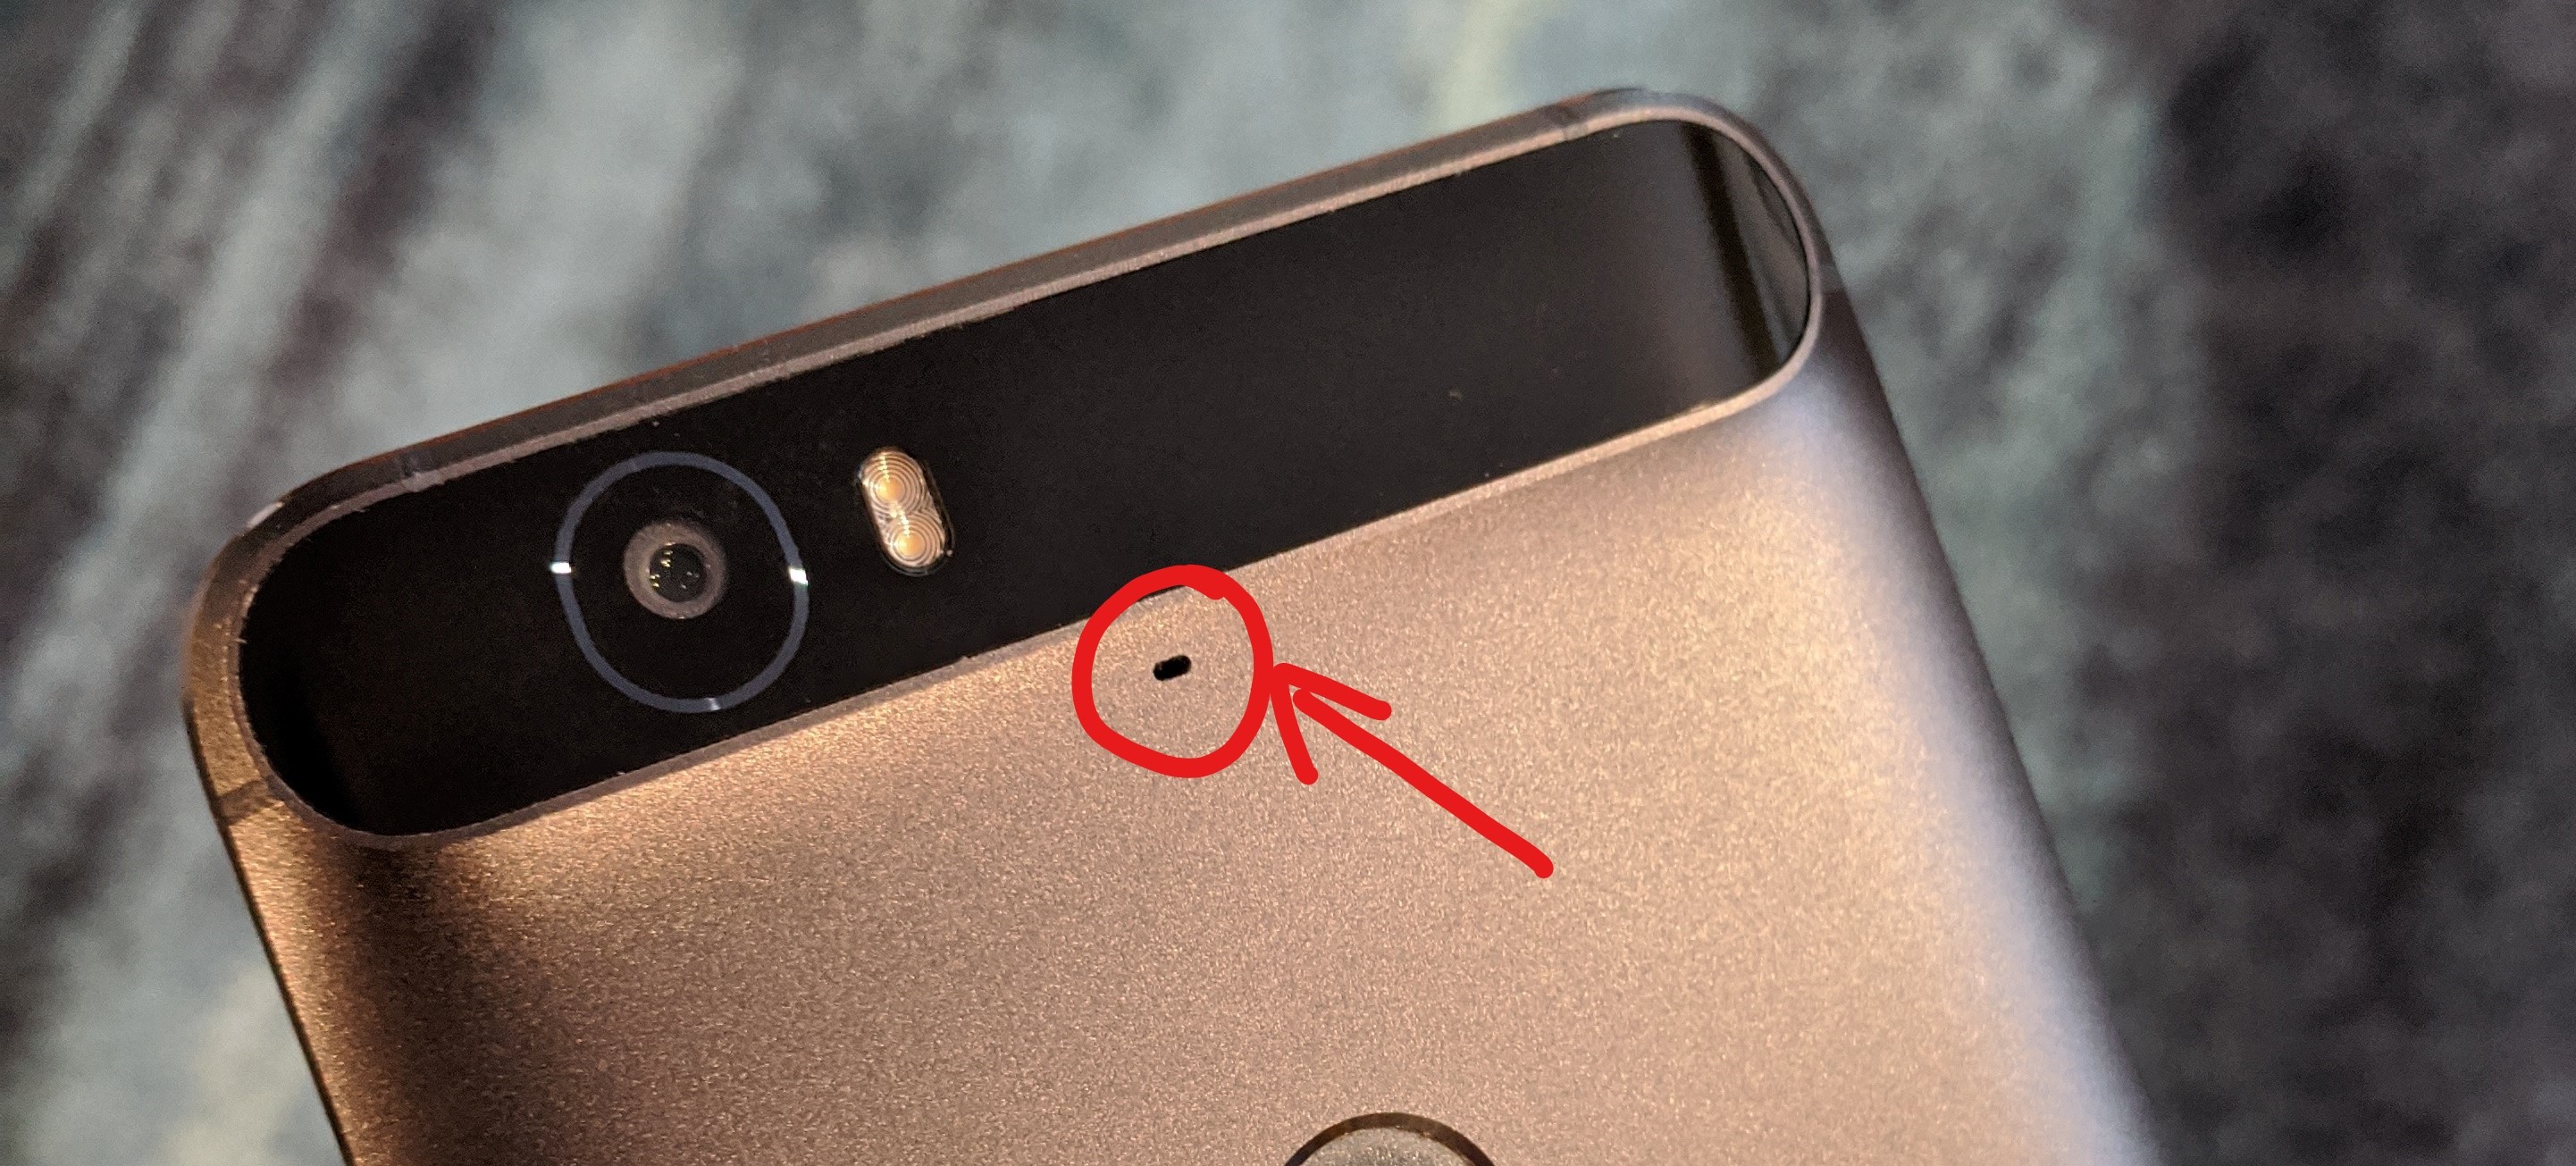
That little hole is the camera microphone on an older Android smartphone
Avoid using Bluetooth or wired headsets, or karaoke/toy microphones that plug into a standard headphone-sized jack. These tend to distort sound in a way that’s very hard to fix in editing.
If you think you’ll be doing enough recording to warrant buying a dedicated recording setup, I’ve collected a couple of entry-level recommendations here.
Working with a microphone Permalink
Okay, now you’ve hopefully got a device for recording, and a quiet non-echoey place to record. How do you actually position your microphone in front of your face for the best results?
The main goal with microphone positioning is to capture your voice accurately, while minimizing the effect of ambient noise, room reflections, and the gusts of air from pronouncing plosives/fricatives like “P” or “S”.

How to position a recording device for best results.
- Position the microphone about 5 inches away from your mouth. This ensures that it predominantly picks up your voice, and not the room you’re in.
- Point the microphone up at your chin at about a 45 degree angle. This avoids the bursts of air from consonants hitting the microphone.
- If you’re using a stereo microphone (like a portable stereo field recorder), pretend it only has one microphone and point that microphone at your chin.
- If you’re using a smartphone to record, make sure to select the “back”, “rear” or “camera” microphone in your recording app. This will use the higher quality microphone that’s next to the phone’s main camera (visible as a tiny hole next to the lens). Then point the camera up at your chin at a 45 degree angle.
- Don’t touch the microphone. Sensitive microphones will pick up tiny vibrations from your hands and introduce hard-to-remove noise. Use a stand, or some other way to prop up your recording device.
Recording your track Permalink
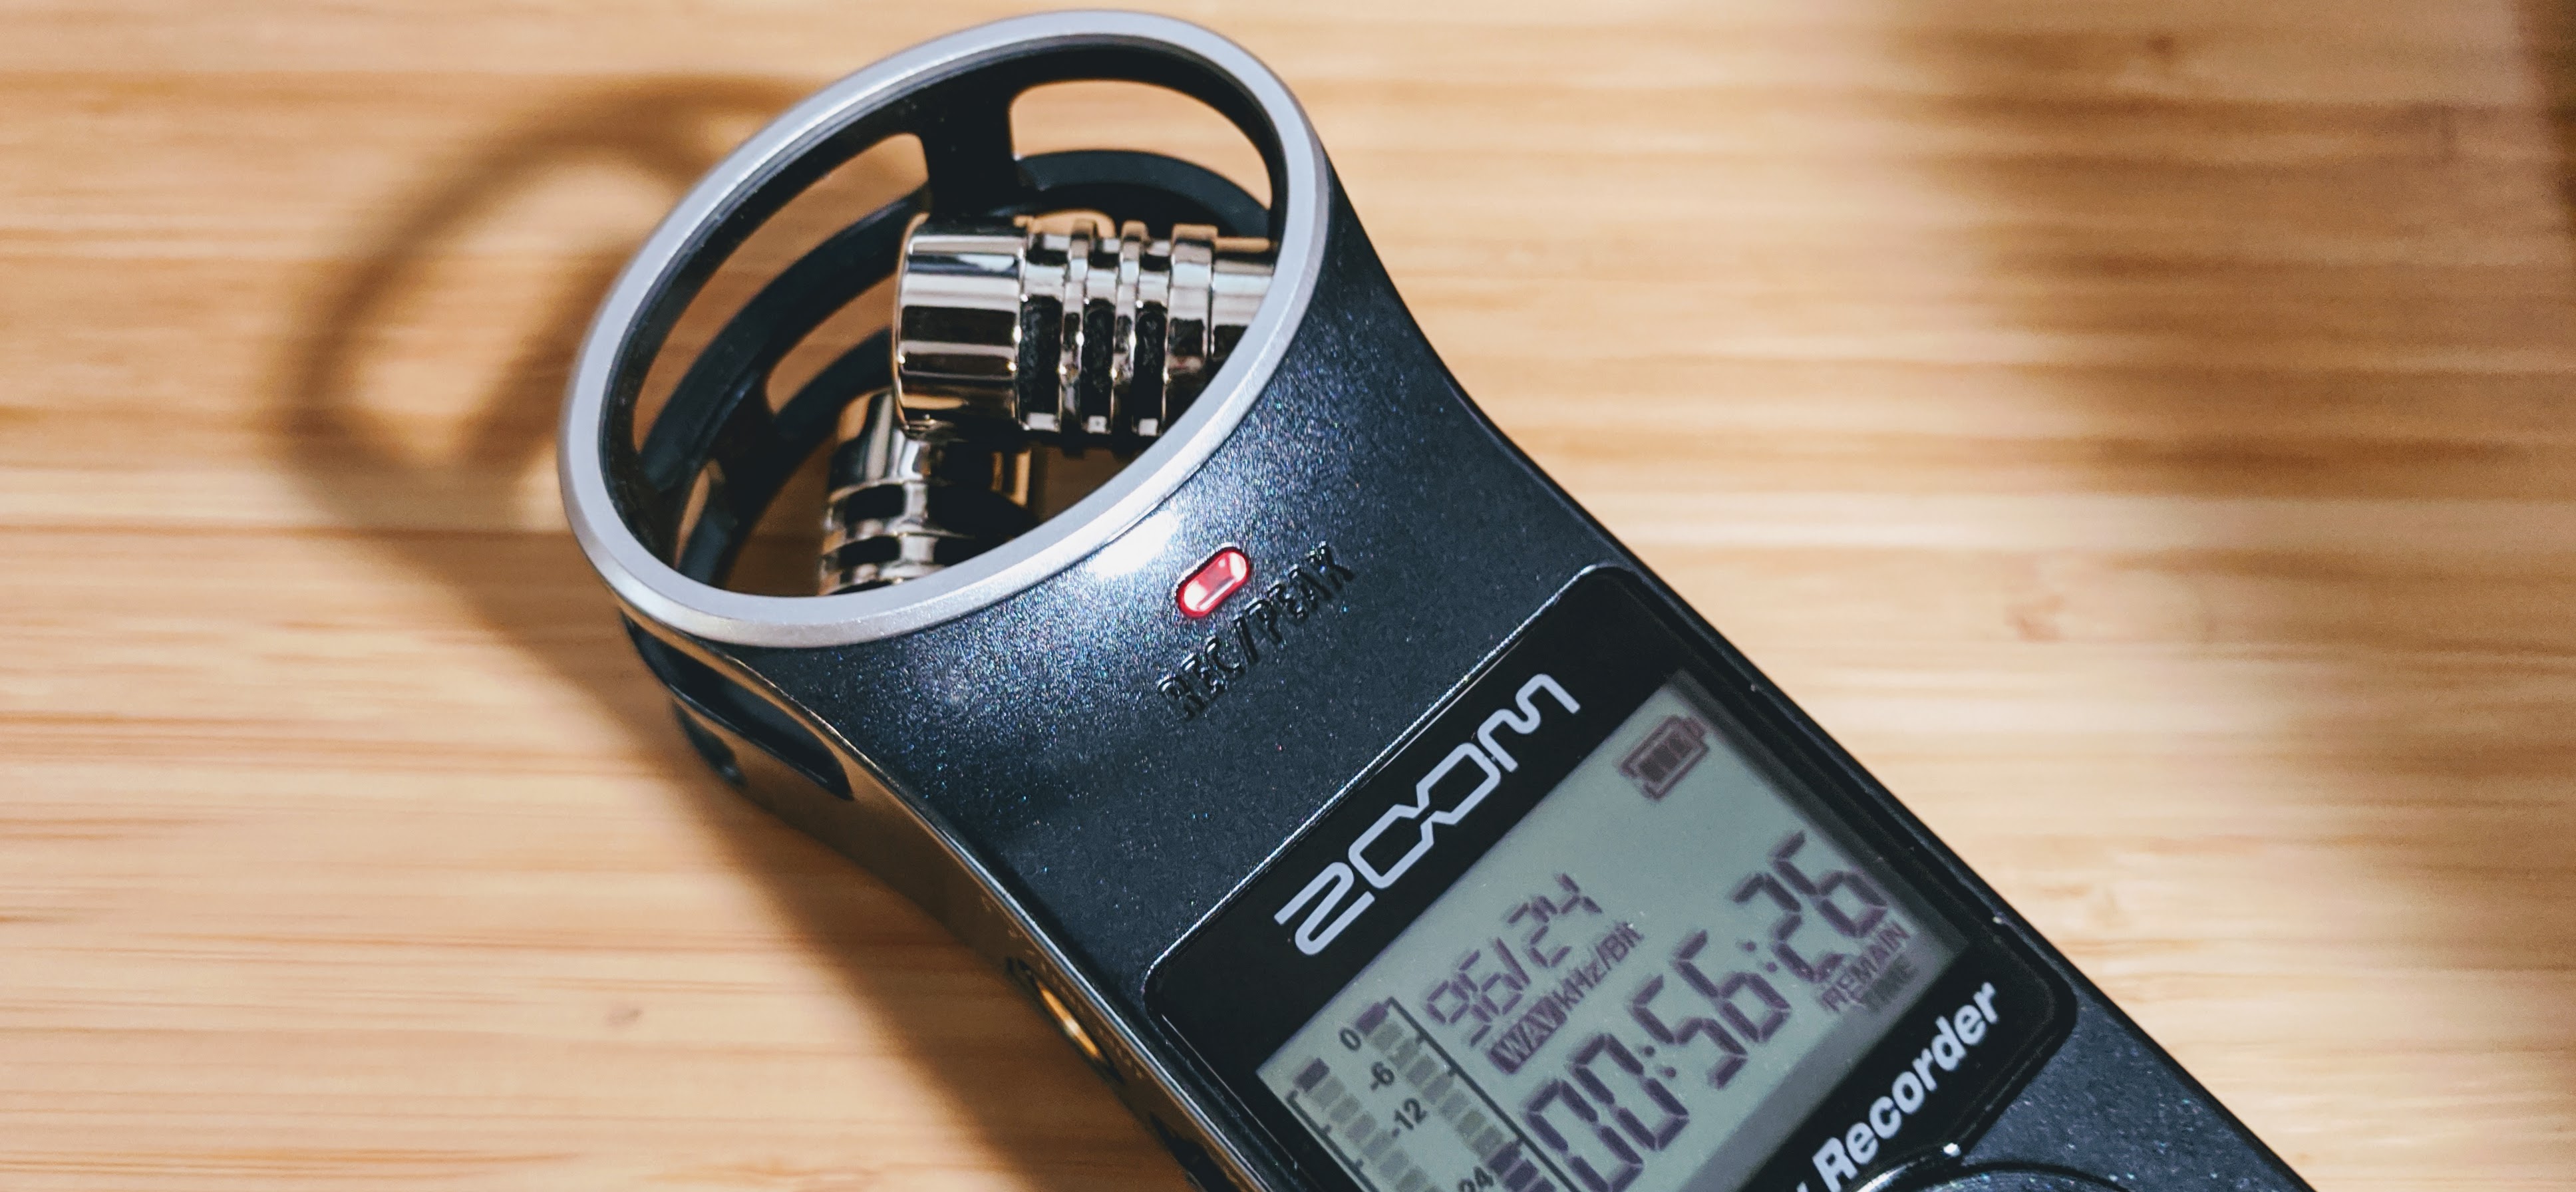
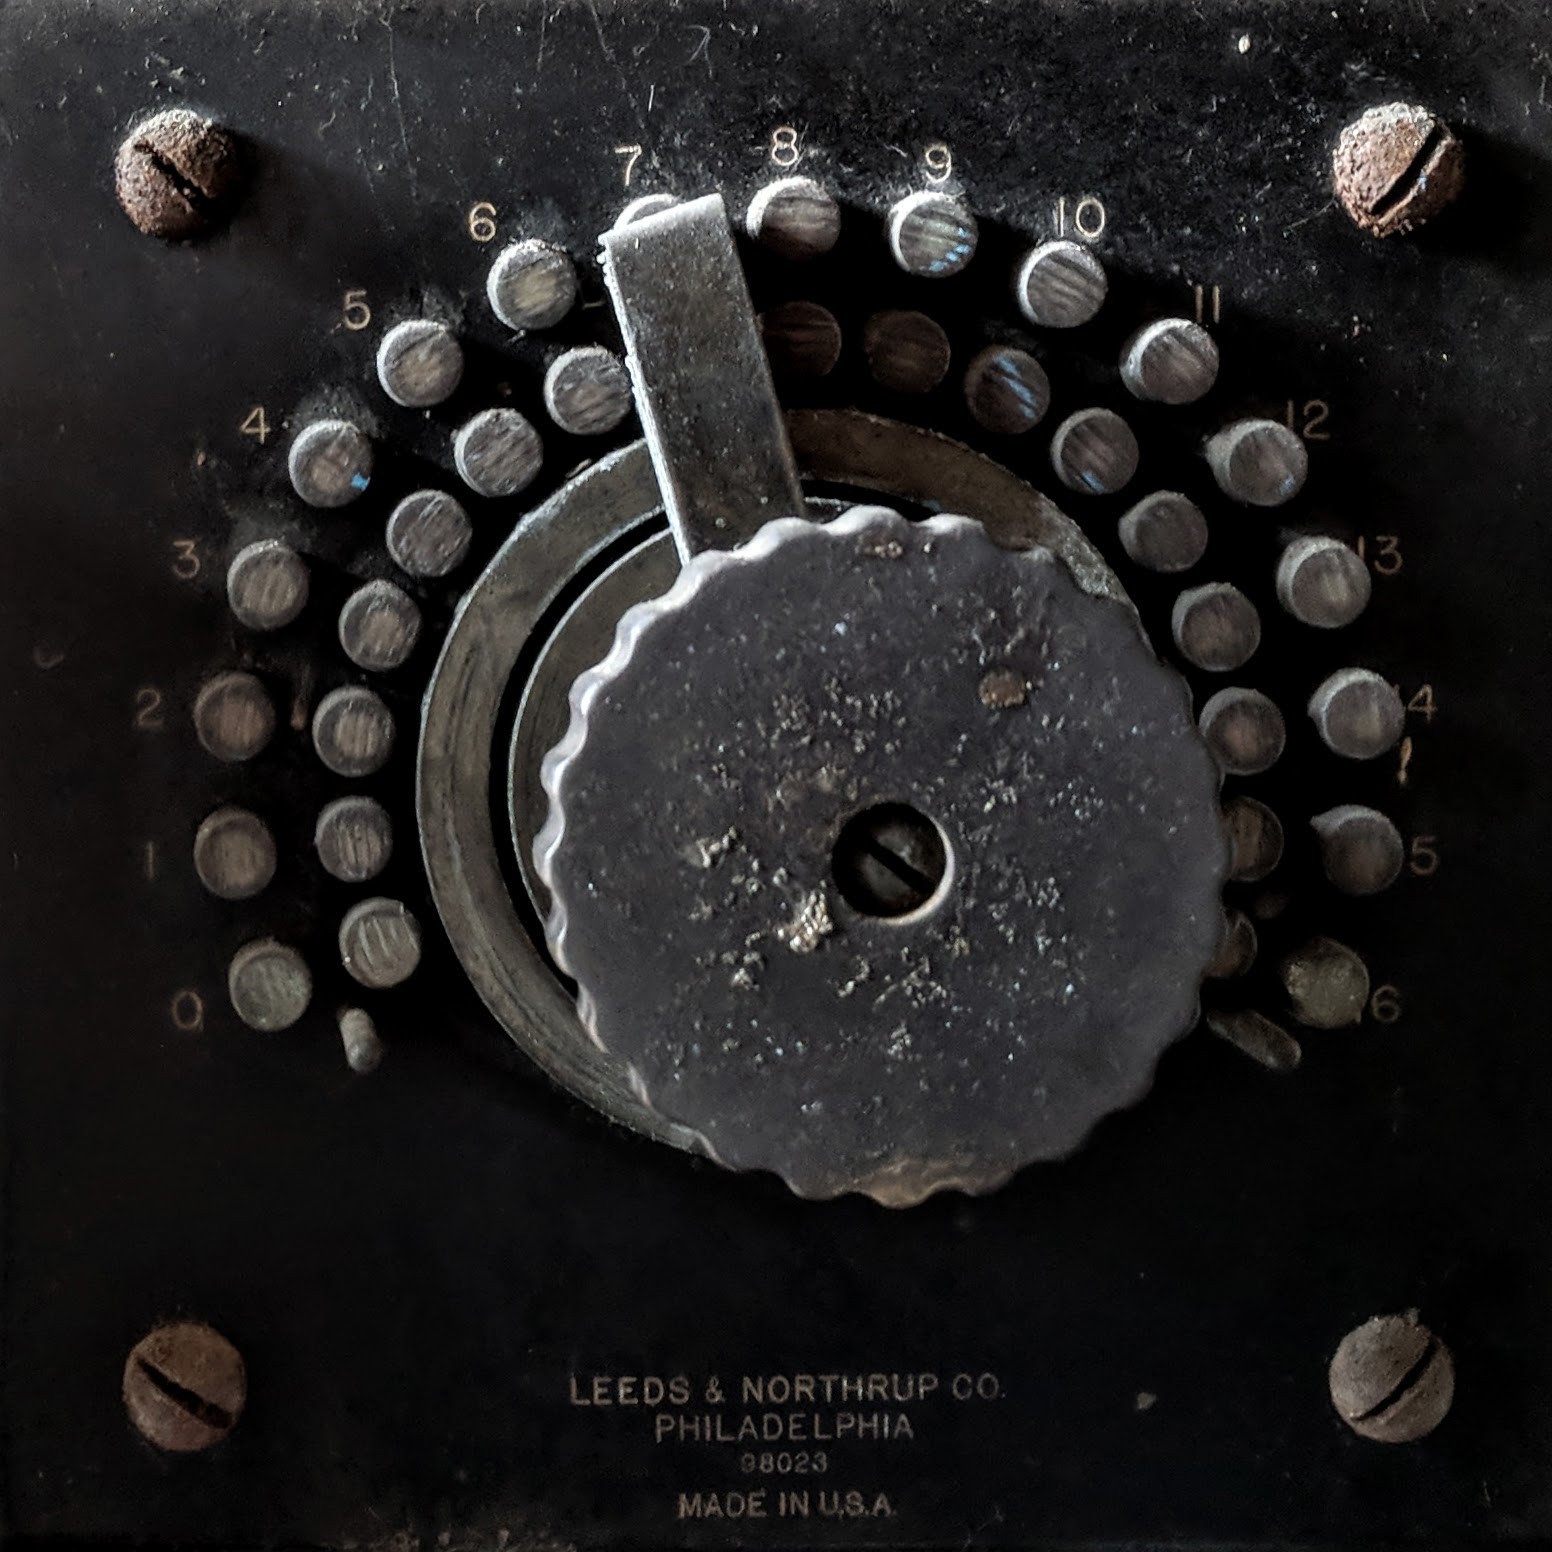
The PEAK indicator on this portable recorder is flashing, indicating that the incoming sound level is too high.
File/quality settings Permalink
Before you start, make sure you’re recording to a lossless high quality audio format:
- File format: lossless
wavoraiff - Sample rate: 44.1kHz or 48kHz
- Bit depth: 16bit is fine, 24bit is great
- Channels: mono (not stereo)
If you’re recording using a smartphone, you’ll also need to configure your recording app to record audio from the rear-facing camera microphone. See here for free apps that support this.
Setting levels Permalink
When you’re recording, you want to make sure that the microphone is getting amplified enough that your voice is clearly recorded above ambient noise, but not so much that the microphone or recorder overloads. Most microphones or recording software will have some way of indicating when a signal is too loud (also called “clipping”).
A quick and dirty way to set a suitable level for recording is to follow this process:
- Set up your recording device so that you can see the red
PEAKLED or level meter - While singing at the loudest level that you expect to sing, turn up the microphone gain or level knob until the meter hits the top or the
PEAKLED flashes. - Turn down the level by about 20%
Evaluating your recording Permalink
After getting everything ready, it’s worth recording a test take of your track, and evaluating whether the sound quality is good. Listen to the recording with headphones. Do you hear:
- Ambient noise? Move to a quiet area or get a little closer to the mic.
- A consistent hissing sound? The microphone level might be too low, try turning it up.
- Crunchy, distorted sound? The microphone level might be too high, try turning it down.
- Loud distorted pops when you pronounce a “P”? Try moving the microphone down so that air from your plosives doesn’t hit it.
- Did you sing everything the way you wanted? It is really hard to record yourself singing, and singing into a microphone is its own skill. If there’s a section that didn’t come out quite as you would like it, do record another take with just that section. Note that phrasing and articulation are more important to get right than pitch and rhythm; with modern audio technology it’s pretty easy to correct pitch and rhythm, but no amount of editing can make a lifeless phrase pop.
Saving and sending your recordings Permalink
If your software requires you to export files, make sure that you use the settings above for exporting your final tracks.
Lossless audio files can be pretty big. If your email provider won’t let you attach them, a good free service to send large files is https://wetransfer.com/.
You did it! Permalink

Congratulations, you’ve recorded a high quality vocal track! Hopefully you were able to record something you can be proud of. But, if something still sounds off, read on below for common issues and how to fix them.
Common recording pitfalls and how to fix them Permalink
Before diving into how to improve your recordings, it’s worth understanding a little about what is meant by a “high quality” recording. In the most straightforward terms, a high quality recording is an accurate reproduction of what your voice sounds like. Note that this only considers the acoustic qualities of your voice; singing the right notes at the right time is obviously also important, but outside the scope of this guide. In general, if your recording captures anything that isn’t your natural voice, that makes it much harder to use. Here are some of the most important sources of unwanted sound in recordings:
Environmental noise Permalink
Microphones are really sensitive pieces of equipment. This is great for capturing the nuances of your voice, but unfortunately it’s also great at capturing every other tiny little noise. It’s especially good at picking up quiet noises close by (like touching the microphone, rustling pages, etc), or loud low frequency noises even when far away (like traffic, planes, or humming appliances).
To avoid this, record in a quiet environment, or sing closer to the microphone.
Room reflections Permalink
If you’re recording in an enclosed space, the microphone will not only pick up the sound of your voice, but also any reflections of your voice off of hard surfaces around you. Even worse, if you’re surrounded by parallel hard surfaces (such as the walls in a rectangular room), the sound will keep bouncing back and forth between them, amplifying certain frequencies of your voice in a way that’s nearly impossible to edit out. The resulting sound is often described as “reverberant” or “boxy”, depending on which frequencies your room accentuates.
To avoid this, record in a room with soft, uneven surfaces.
Electrical noise Permalink
Since microphones turn sound waves into very tiny electrical currents which are then amplified a lot to make them audible, any sources of electromagnetic interference (such as cell phones) close to audio equipment can result in audible humming or noise in the final recording. Most microphones and amplifiers also produce a small amount of self-noise that sounds like hissing static. In very poor quality recording equipment, this can be bad enough to be audible in the recording.
To avoid this, keep cell phones completely turned off or in a different room. If there’s audible hissing in the recording, try turning down the microphone gain.
Overloading Permalink
Most microphones (and amplifiers) only have a limited dynamic range (the difference between the quietest audible sound and the loudest sound it can handle). If the sound source is louder than what your equipment can handle, the audio clips or distorts. Depending on which component is overloaded, it can sound like an overdriven guitar (analog distortion), or crackling (digital clipping).
To avoid this, don’t sing too close to the microphone, or turn down the gain on the microphone/amplifier.
Digital artifacts Permalink
At some point, the electrical signals from your microphone needs to be turned into the digital 1s and 0s that make up a sound file. Some recording software gives you the option of reducing file size by applying lossy compression (such as mp3 or aac). This compression can introduce audible artifacts into a recording, especially if you mix many compressed recordings together.
To avoid this, record in a lossless format like wav or aiff at a sample rate of 44.1kHz or above.
Software and equipment recommendations Permalink
Recording software Permalink
There is a wide array of software out there for recording digital audio. But, if all you want to do is record a single track, here are some decent free options:
- PC/Mac/Linux: Audacity (free, open source) Straightforward, and will record a single track of high quality audio just fine.
- iOS: Voice Record Pro 7 (free, with ads) Supports selecting the back microphone for higher quality recording, and recording lossless
.wavwith sampling rates up to 48,000Hz at 24 bit (setup instructions). - Android: AudioRec - Voice Recorder (free, with ads) Supports selecting the rear microphone for higher quality recording, and recording lossless
.wavwith sampling rates up to 48,000Hz at 16bit (setup instructions). - Any digital audio workstation (DAW): If you’re already proficient with a full DAW like ProTools, Reaper, Ableton, or Logic, then by all means use that!
I’d recommend against using GarageBand on iOS; it doesn’t support exporting your recordings as lossless files, and by default will apply processing to the recorded audio that isn’t great for mixing later.
USB Microphone Permalink
If you’re only ever going to record one track of vocals, but doing it a lot, a standalone USB microphone is a good option. These microphones have an amplifier and USB audio interface built-in. The main drawback is that you can’t use any other microphones or instrument inputs at the same time. If you think you’ll ever want to record more than just your voice, consider buying a separate microphone and audio interface.
Some reputable brands and options:
Not recommended:
- any USB microphone only designed for conferencing. In particular most USB headsets, lapel microphones, or small conference-style microphones will not work well for singing; you’d be far better off using a smartphone!
Discrete microphone and audio interface Permalink
If you think you might be more serious about recording, and perhaps record with more than one microphone, or a microphone and an instrument, or just upgrade to a nicer microphone over time then it might be better to buy a separate microphone and digital audio interface. These little boxes take care of converting the analog audio signals coming from traditional microphones with XLR outputs into digital data over USB.
Relatively affordable audio interfaces Permalink
- FocusRite Scarlett series: very good quality entry-level audio interfaces, available with anything from 1 to 18 inputs.
- If you’ll only ever record with one microphone at a time, and maybe an instrument like an electric guitar or keyboard, the Scalett Solo is an excellent choice.
- Motu M2: same price range as the Scarlett 2i2, but with visible level meters and slightly better microphone preamps.
- Behringer UMC series: about half the price of the FocusRite interfaces, but more self-noise and a lower build quality.
- If you’re thinking of recording a small band, or up to 4 vocalists simultaneously, the 4-channel UMC404HD is by far the best bank for your buck.
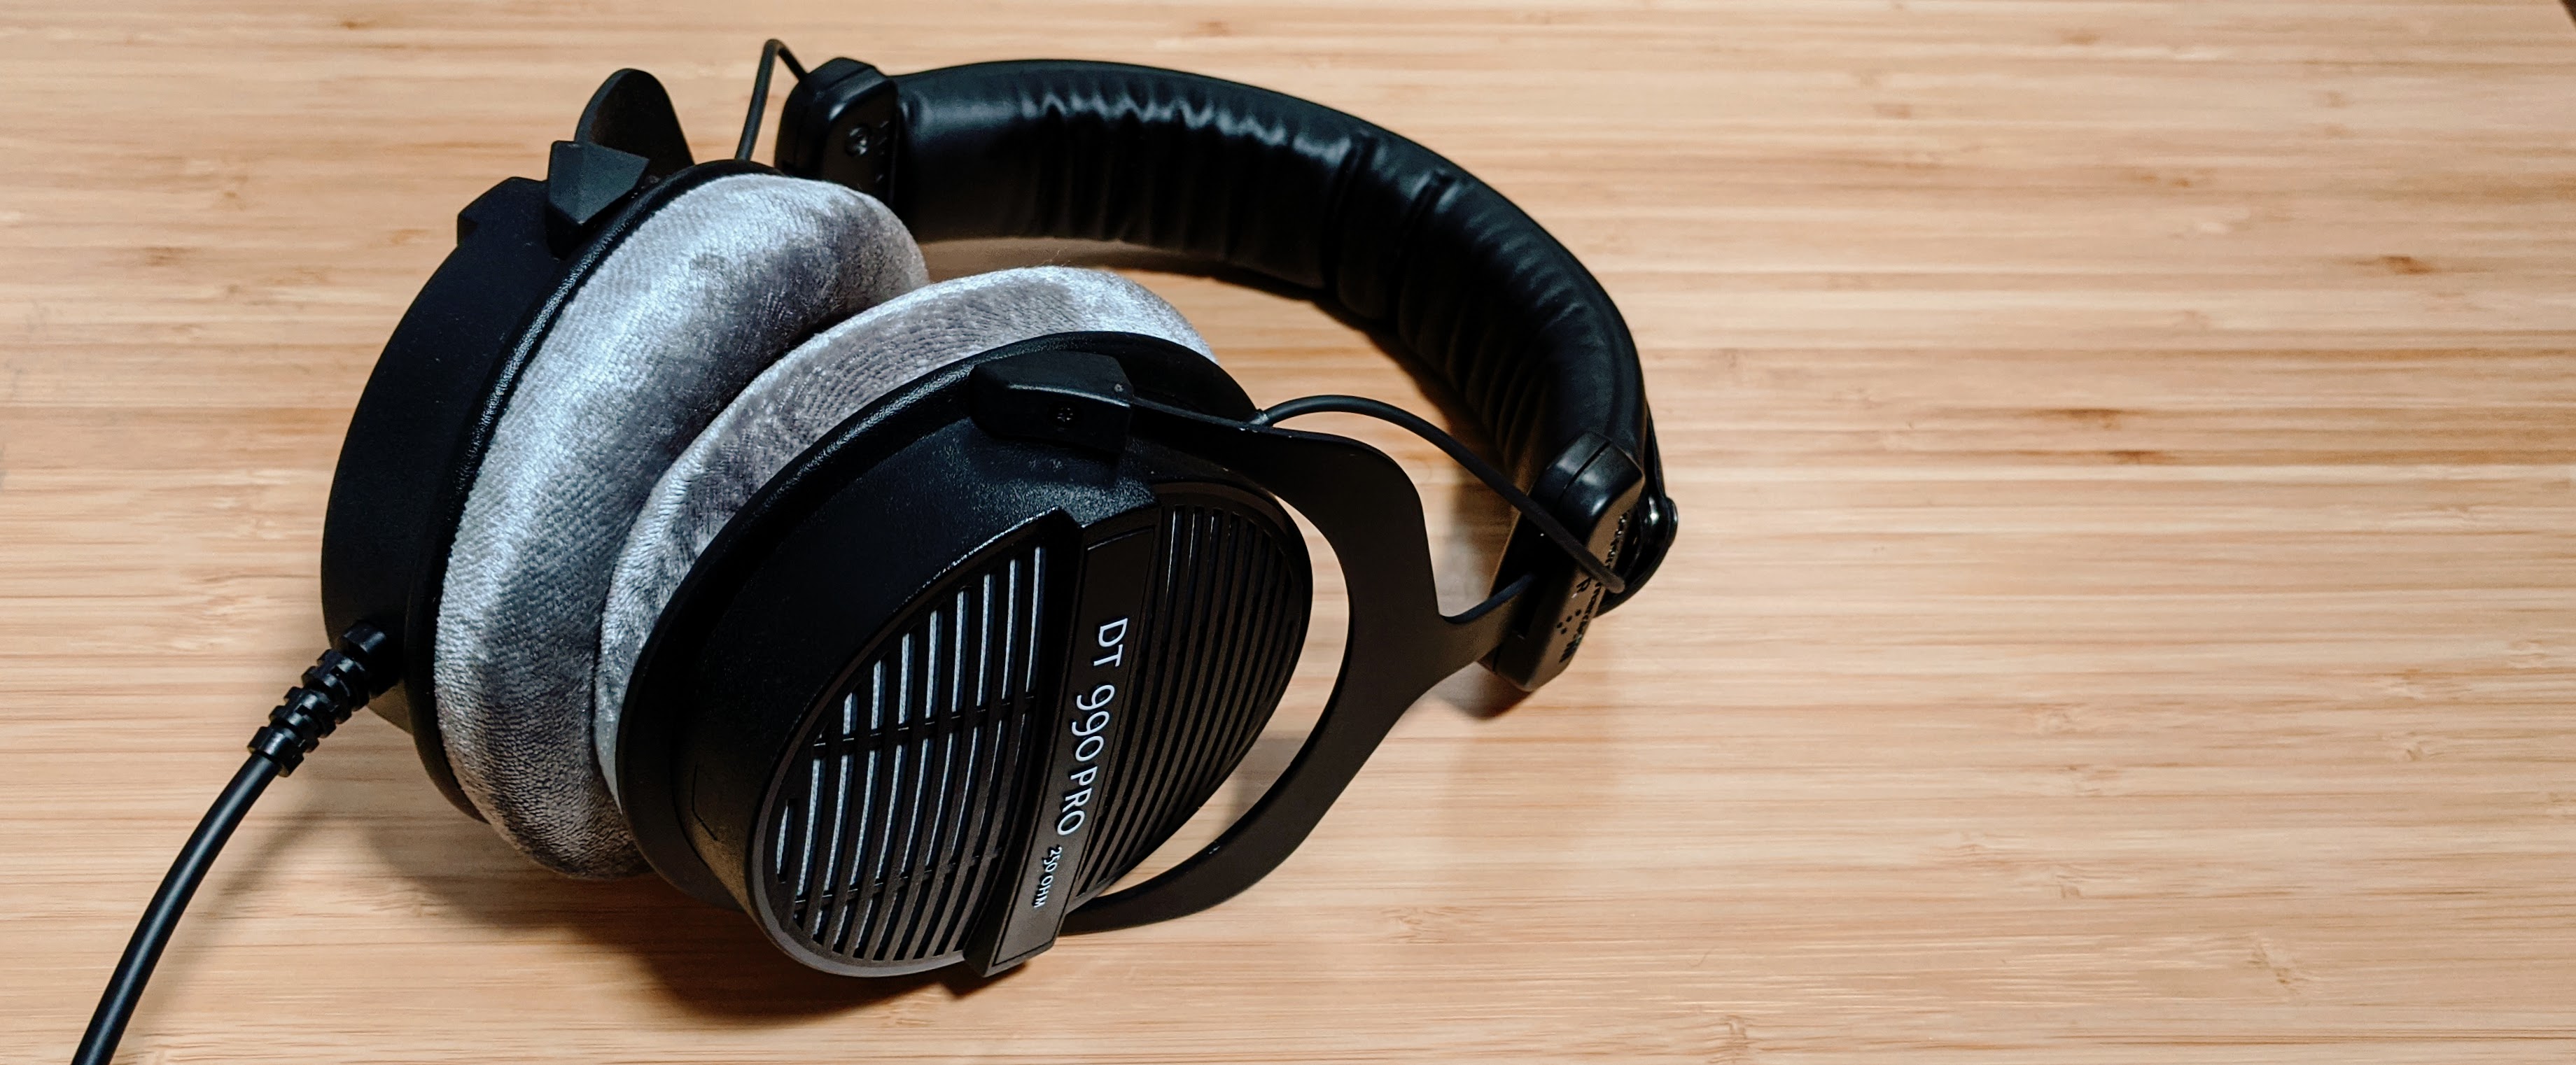
Relatively affordable vocal microphones Permalink
The best type of microphone for studio vocal recording is usually a large diaphragm condensor microphone.
Mic stand and thread adapters Permalink
You microphone will usually have a female screw thread (either built-in or on a removable clip) that allows you to mount it on a microphone stand. The three common types of microphone thread are 5/8” (found on condenser microphones and microphone clips), 3/8” (found on other audio accessories), and 1/4” (found on most consumer camera equipment)
Most microphone stands come with a 3/8” male thread, and a 3/8” to 5/8” adapter. If that’s the thread your microphone has, then you’re all set. If not, you may need an adapter.
- AmazonBasics Tripod Boom Microphone Stand is the cheapest one I could find
- On-Stage MS7701B is a more expensive stand, but with all-metal parts for adjustment so it should last forever
- Square Jellyfish Jelly Grip Tripod Mount is a good cheap smartphone mount to securely hold it in place for recording on any camera tripod
- Camvate 5/8” to 1/4” adapter will allow you to mount a microphone or smartphone mount with the smallest thread to a microphone stand with the largest thread
More resources Permalink
If you’re seriously considering buying audio equipment, it’s worth doing your own research; these articles are a great starting point to figuring out exactly what equipment will suit your needs: